Description
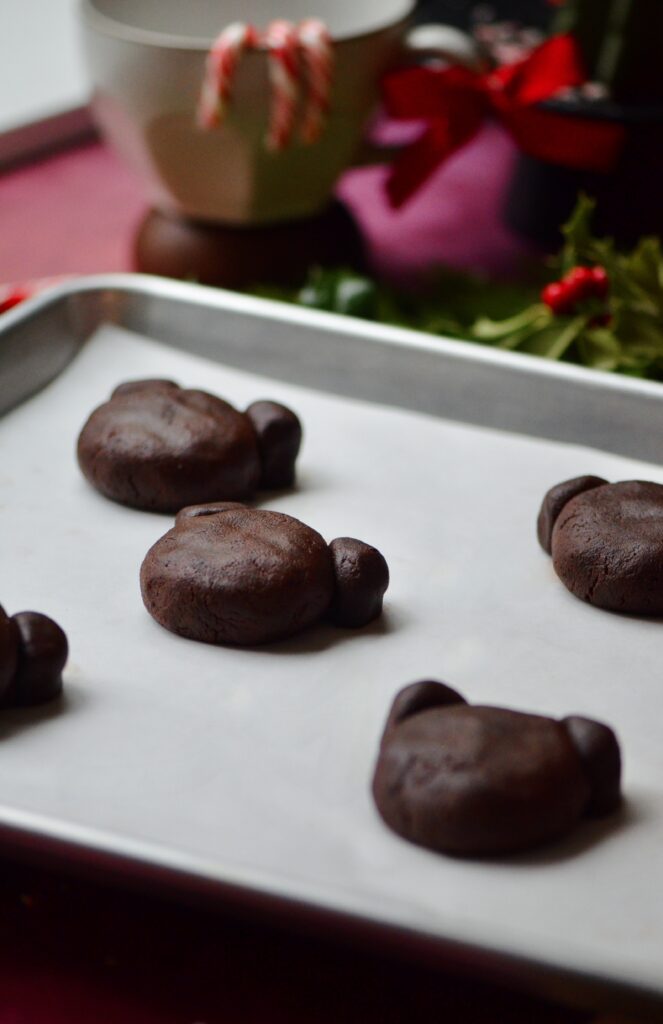
These adorable Chocolate Peppermint Bear Cookies are the perfect Holiday cookie recipe! They are soft, chocolatey, and a crowd-pleaser for sure! Each one is decorated with both white chocolate and milk chocolate for the eyes, nose and cheeks. Lastly, they’re decorated with a red heart for an extra added touch!
Ingredients
1 cup all-purpose flour
1/3 cup dutch processed cocoa powder
1/2 tsp. baking soda
1/4 tsp. salt
1/2 cup softened butter
1/2 cup packed brown sugar
1/4 cup white sugar
1 large egg
3/4 cup nutella
1/2 tsp. vanilla extract
1/2 tsp. peppermint extract
milk chocolate, for decorating
white chocolate, for decorating
Instructions
1. In a small bowl, whisk together 1 cup all-purpose flour, 1/3 cup dutch processed cocoa powder, 1/2 tsp. baking soda, and 1/4 tsp. salt. Set aside.
2. To a large bowl, cream together 1/2 cup softened butter, along with 1/2 cup packed brown sugar and 1/4 cup white sugar. With an electric hand mixer, cream together for about 3 minutes. Next, add in 1 large egg, 3/4 cup nutella, 1/2 tsp. vanilla extract and 1/2 tsp. peppermint extract. Beat that again.
3. Add in the dry ingredients from step 1, and beat that one last time until a dough forms. Now it’s time to shape the bears!
4. Scoop out eight balls; these will be the main part of the cookie. Shape 16 small balls for the ears and attach it to the main cookie. Lastly, shape 8 even smaller ovals for the noses. Bake these on the same sheet, but seperately.
5. Bake the cookies at 350F for about 12-14 minutes. Keep an eye on the noses, as they will bake faster since they’re smaller. After about 8 minutes, it should be time to take out the noses!
6. Let the cookies cool, while melting the chocolate. Melt some milk chocolate for the eyes and the nose. Attach the nose part of the cookie with the melted chocolate, and pipe on the eyes and nose. Next, melt the white chocolate, and add a bit of pink food gel for the cheeks. Lastly, pipe on the cheeks and repeat with all of the remaining cookies.
7. Enjoy!
- Prep Time: 10 mins.
- Cook Time: 12 mins.
- Category: Dessert
- Method: bake

